NSX Advanced Loadbalancer Basic Edition for VMware Horizon Connection Server
VMware generally recommends using loadbalancer for VMware Horizon components to increase availability and scalability (https://kb.vmware.com/s/article/2146312).
In this post a Horizon Connection Server load balancer will be set up for users with NSX ALB Basic Edition license. If you already own a Enterprise license of NSX ALB you can use Advanced Features. The setup for Enterprise Edition license holders is documented at the AVI documentation page here:
https://avinetworks.com/docs/latest/configure-avi-vantage-for-vmware-horizon/.
The general setup of NSX ALB is documented in this blog post: https://phisiescloud.com/2022/12/configuring-nsx-advanced-basic-edition.html
1. Create an Connectionserver specific application profile
Go to Templates --> Profiles --> Application Profiles.
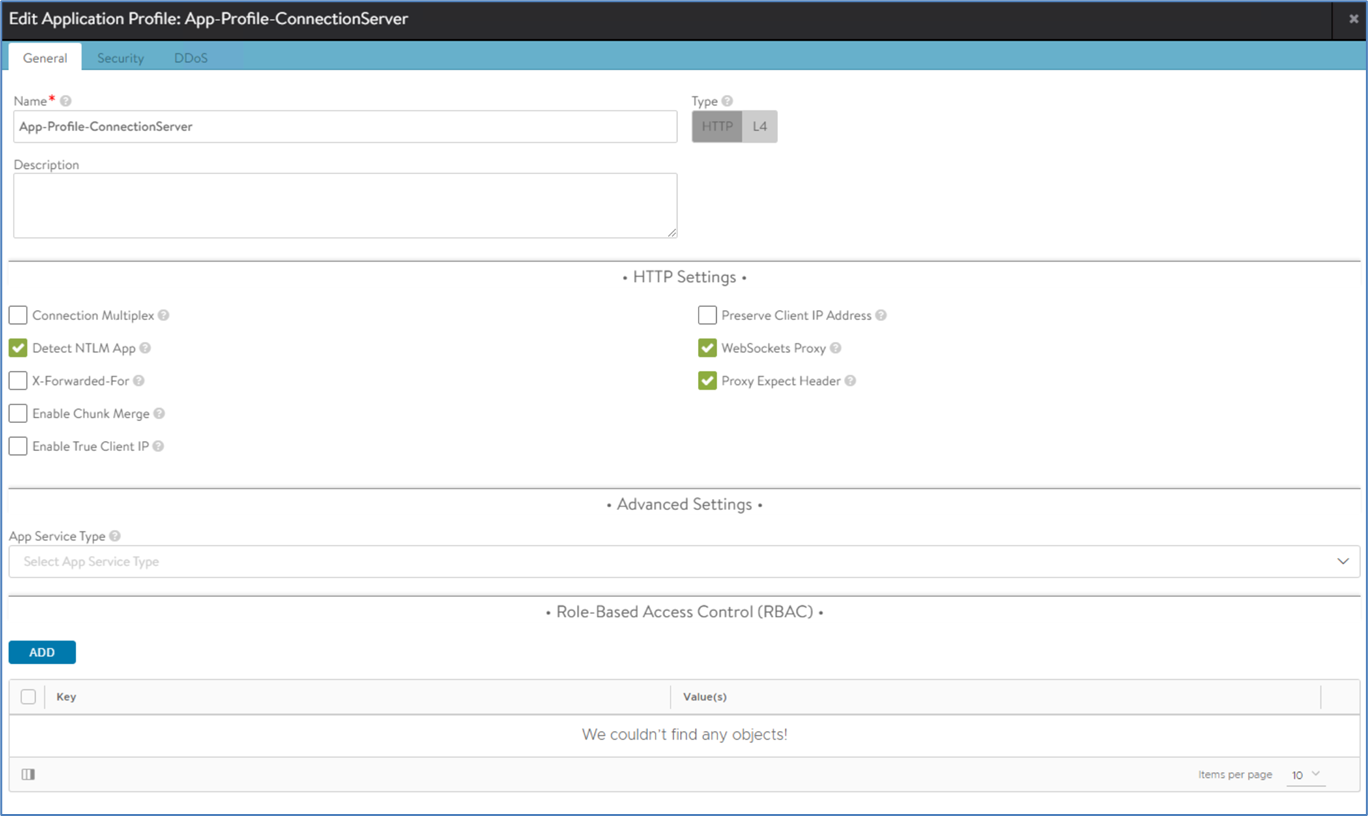
Select Detect NTLM App, Websockets Proxy and Proxy Expect Header
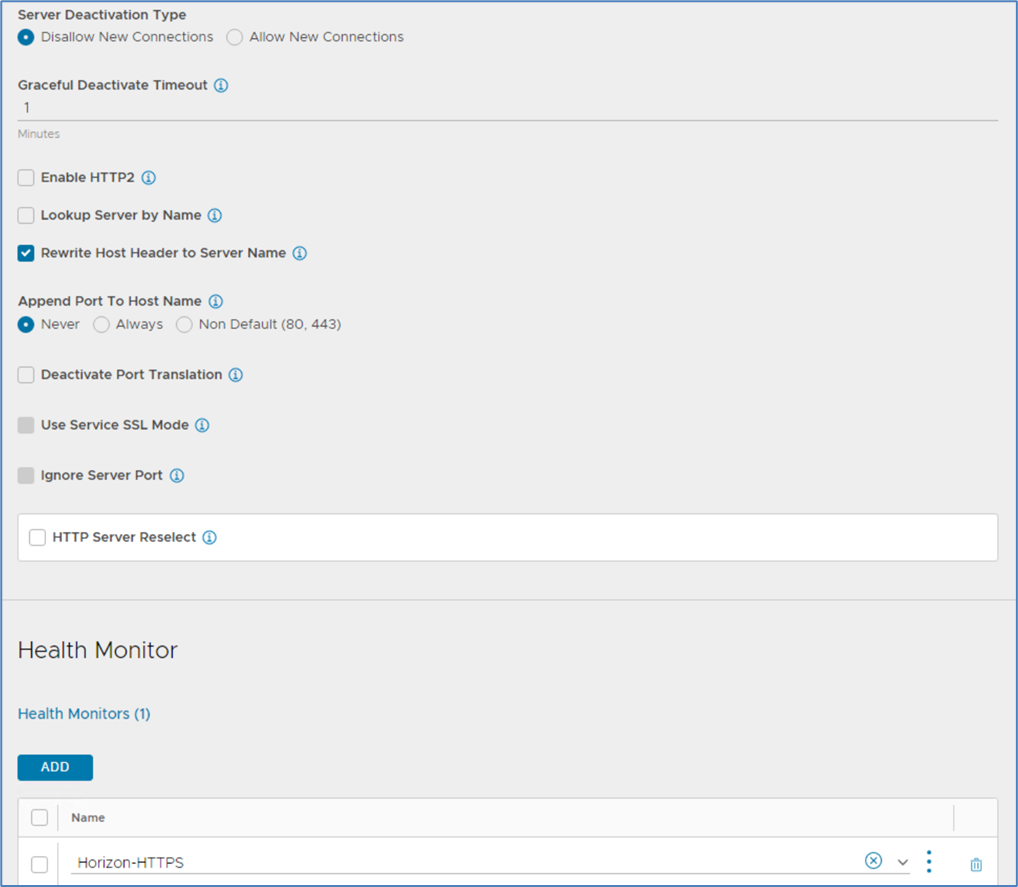
2. Create a Health Monitor to check Connection Server health status
Also located under Templates --> Profiles create a Health Monitor called Horizon-HTTPS. This health monitor can be used for Connectionserver and Unified Access Gateways.
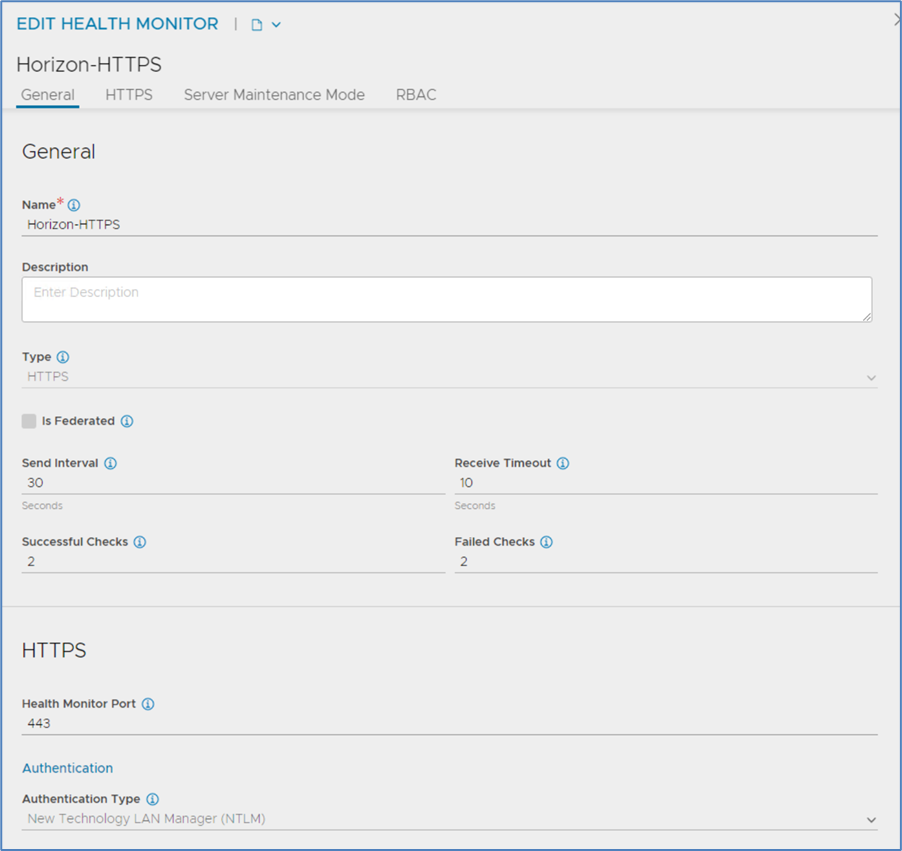
Configure the Health Monitor Port to 443.
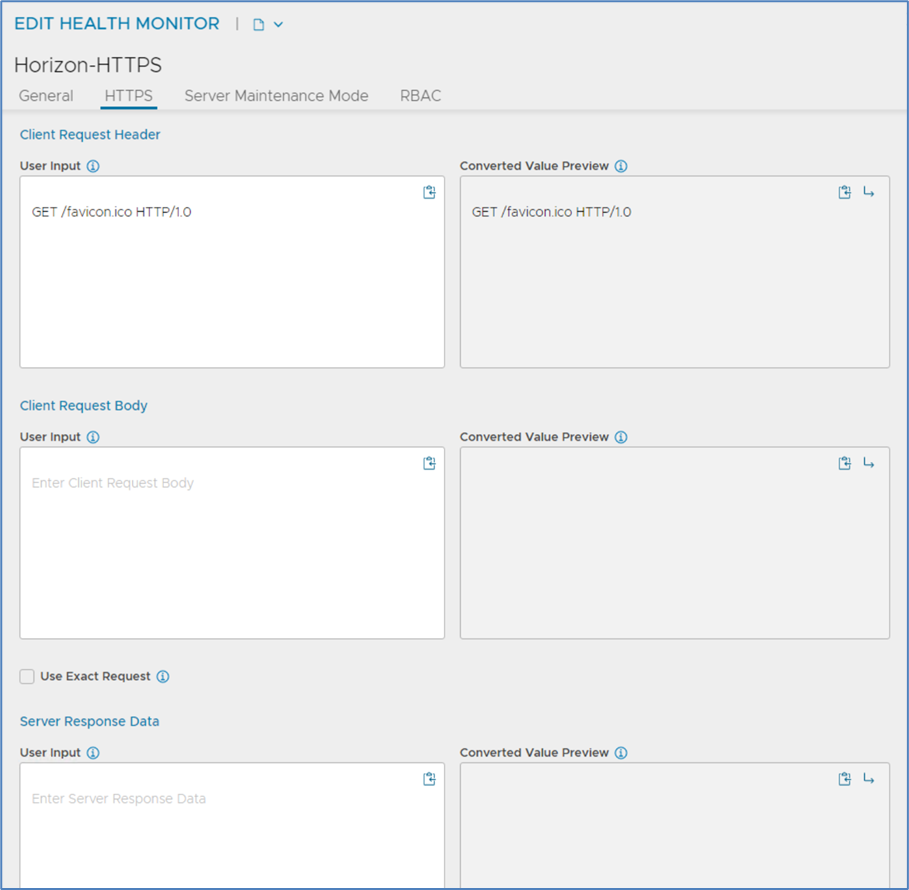
HTTPS section
Server Maintenance Mode section
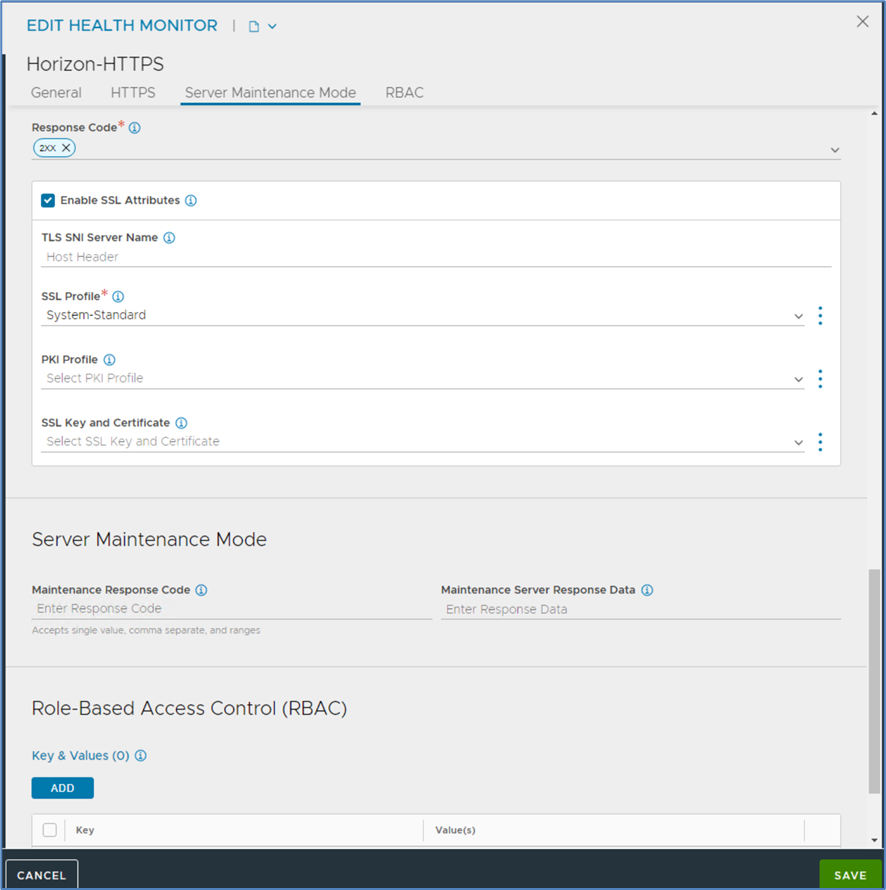
Enable the SSL Attributes and choose the System-Standard Profile. Click on save to finish the Health Monitor.
3. Create an SSL/TLS Profile
This profile is used for services connecting to the loadbalancer mostly UAG (Unified Access Gateways) or Horizon Clients. It is called Connectionserver-SSL in this example
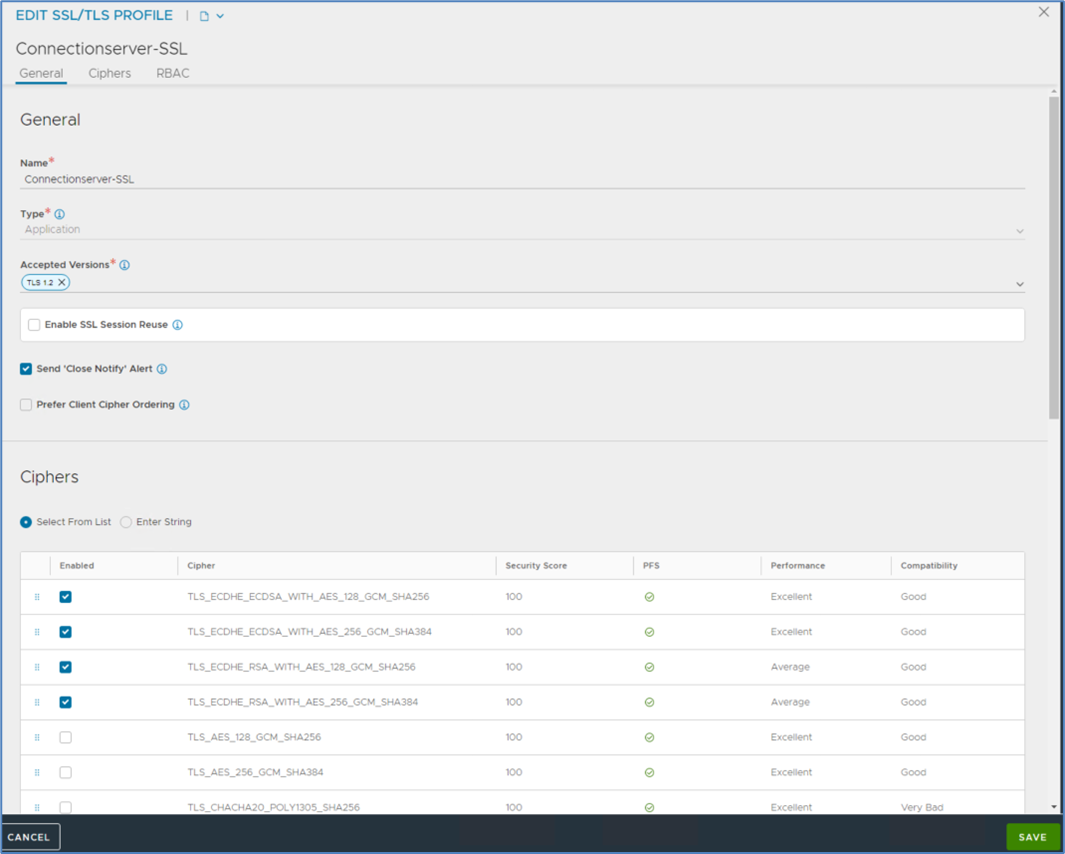
In the General section configure the TLS 1.2 encryption as version. In NSX ALB 22.1.3 and older only TLS 1.2 is available with Basic license. TLS1.3 can be only selected with Enterprise license tier.
Select the currently 2023.03 secure ciphers:
TLS_ECDHE_ECDSA_WITH_AES_128_GCM_SHA256
TLS_ECDHE_ECDSA_WITH_AES_256_GCM_SHA384
TLS_ECDHE_RSA_WITH_AES_128_GCM_SHA256
TLS_ECDHE_RSA_WITH_AES_256_GCM_SHA384
4. Configure the loadbalancer pool next

Load balance algorithm Round robin is recommended.
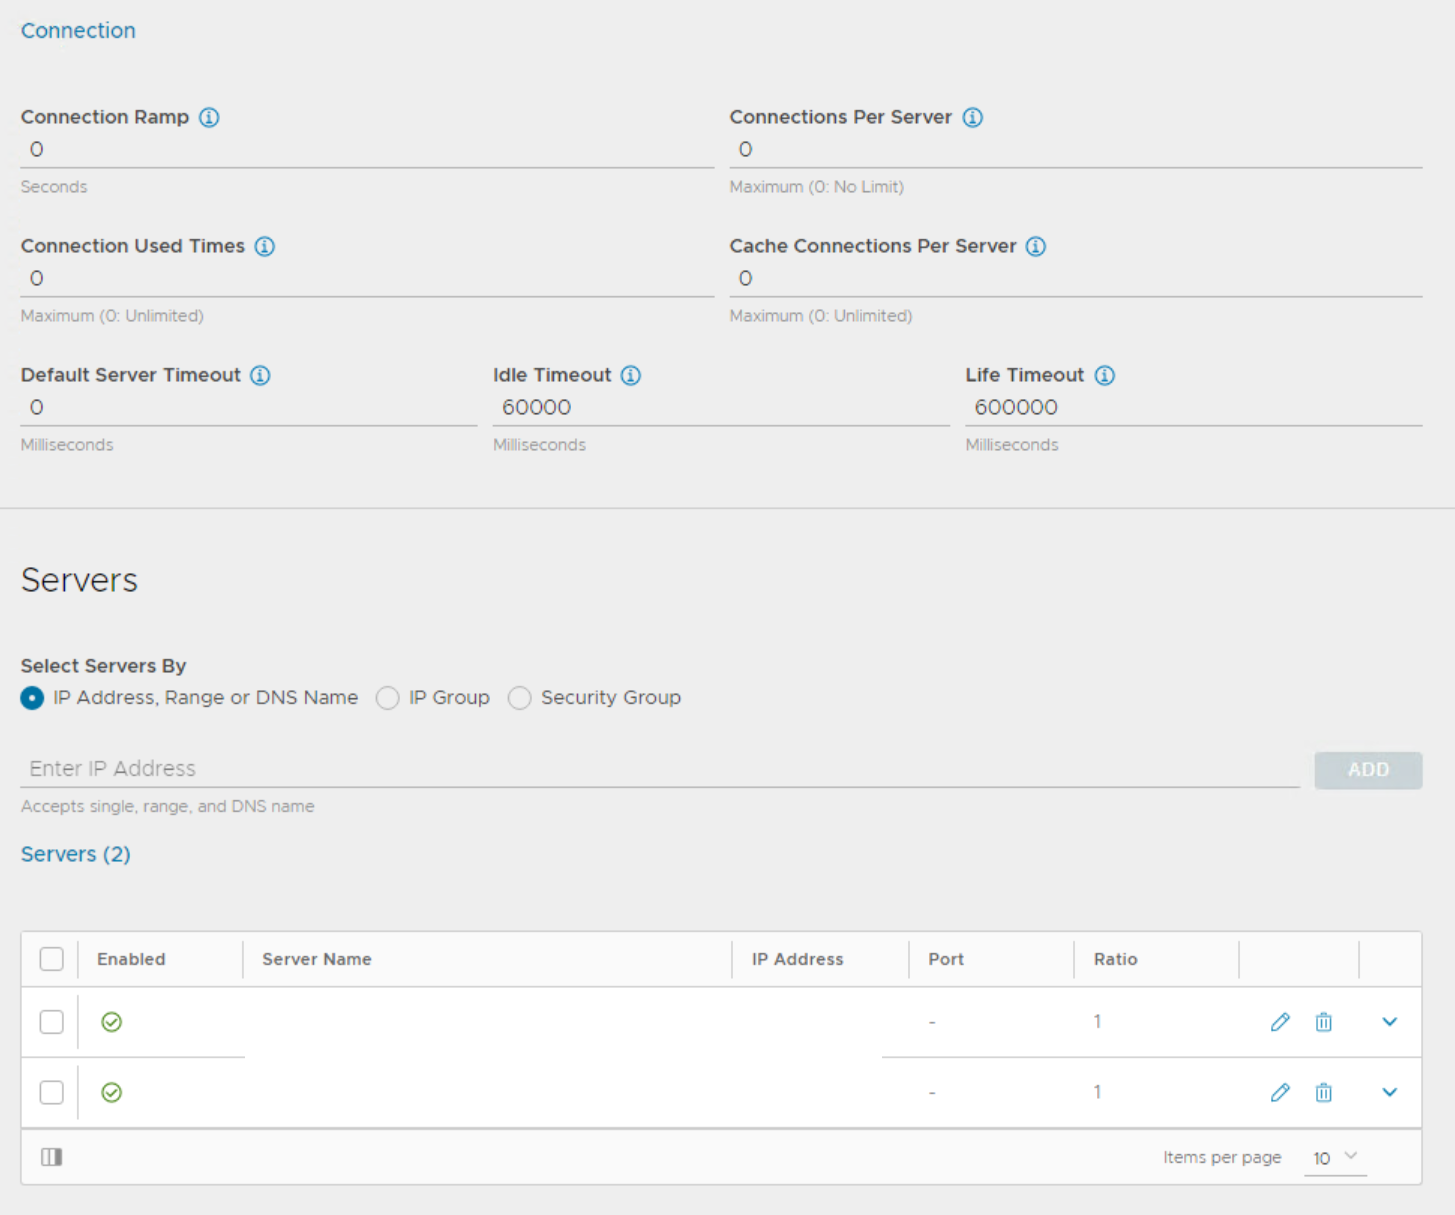

Select the Default Profiles System-Persistence-Client-IP and System-Analytics Profile. This allows the regogniction of the devices connecting to the load balancer and its pool members.
Select the Connectionserver-SSL profile which is created in the previous step.
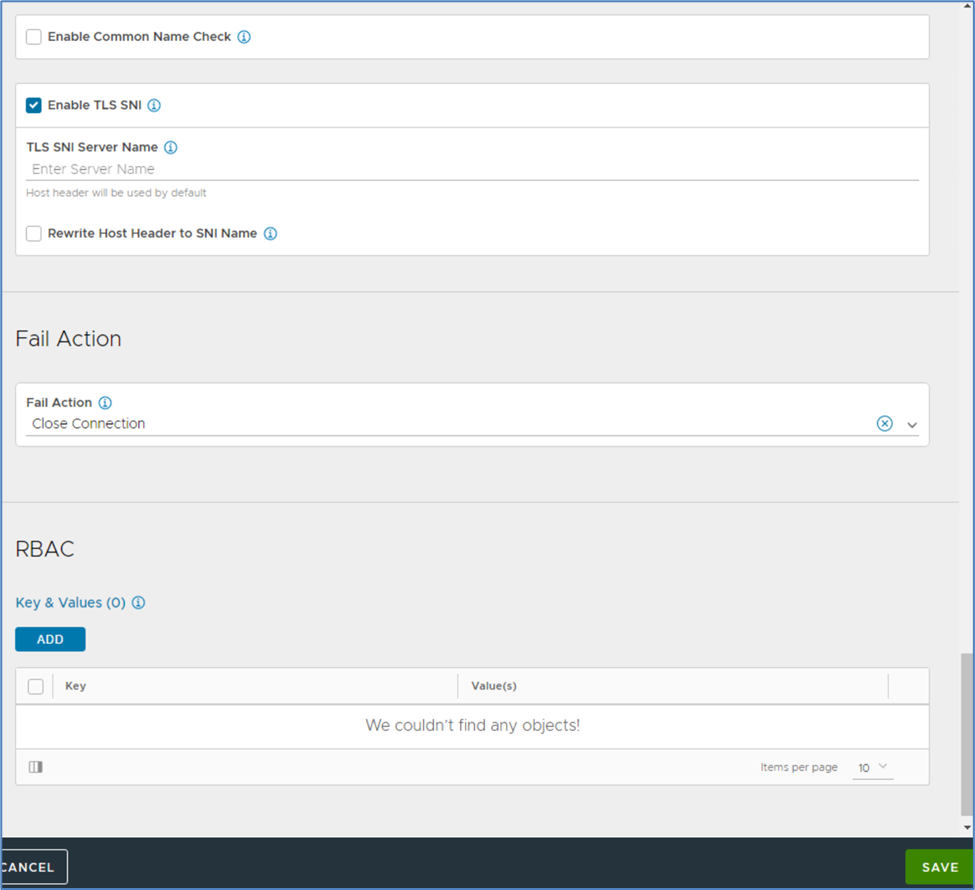
Fail Action should be set to Close connection.
5. Create the loadbalancer (Virtual Service)


Comments
Post a Comment